If you walk into your kitchen and feel bored, it might be time to spruce it up. One of the easiest ways to renovate your kitchen is to paint the cabinets. Painting faded or light-colored cabinets is an excellent way to express your style and make your kitchen feel fresh and new.
While you can go straight to applying paint to the cabinets, it won’t turn out well. A lot of prep work is involved in ensuring kitchen cabinets have a smooth and professional finish. These four tips for painting or repainting kitchen cabinets will help you do a better job.
1. Prep
Prepping cabinets for paint is a vital first step to make your paint last longer and look better. You always have to prepare any surface for painting to ensure a smooth, finished product. The steps involved in prepping cabinets are:
- Empty and clean the cabinets: You should empty and clean the cabinets. You will want to remove any grease or dirt, which can especially build up on cabinets near the stove. A wet washcloth with wood cleaner will shine and clean your cabinets in no time.
- Remove cabinet parts and doors: It makes painting easier when you remove the cabinet doors, drawers, handles and hinges. You don’t want to get paint on the hardware. Label the parts as you remove them so you know where they go — labeling and sorting the pieces will make cleanup easier.
- Protect paint-free areas: Protect the sites where you don’t want paint with tape and rosin paper. You can tape and cut the paper to fit the countertops and precisely cover everything. You can also use a drop cloth on the floor instead of rosin paper. Tape off appliances and cover the countertops, floor and backsplash.
- Fill in holes: If you want a smooth finish, you need to fill in any grain holes because they will show through the paint. It’s also a good idea to fill hardware holes if you’re changing out the handles with a new size or style. You can fill in the gaps using wood putty.
- Sand the cabinets: Sand the cabinets before painting to give the paint a good surface to stick to. The best way to sand cabinet doors is to use the correct grit sandpaper. If the cabinets are stained, use 220 grit sandpaper. Painted cabinets need 120 grit sandpaper before switching to a finer one. Cabinets that have been painted multiple times must be stripped and then sanded. For faster results, you can use an electric sander.
- Remove sanding dust: A quick way to remove sanding dust is to use a vacuum and a tack cloth. The brush attachment on the vacuum will scrape up any loose dust. Then, use the tack cloth to pick up the remaining debris. To use a tack cloth, you unfold it, loosely bunch it up, wipe the surface and shake out the dust.
2. Prime
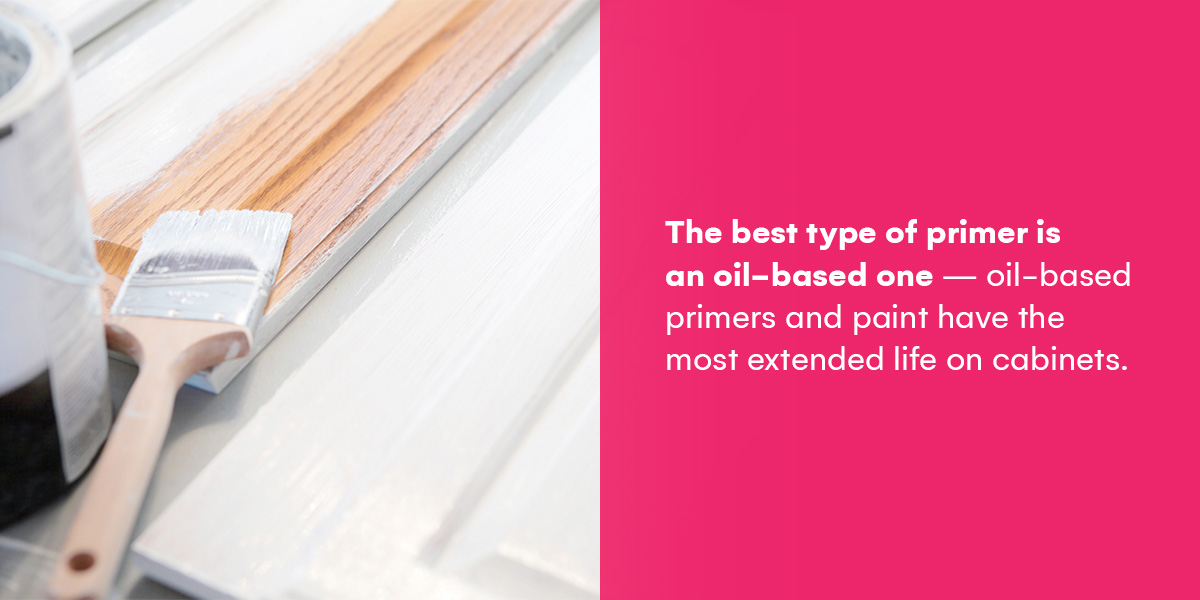
Priming is crucial after prepping because it helps the paint stick and covers imperfections. All-in-one paint and primers are available, but it’s best to treat priming as its own step, especially in the kitchen. The best type of primer is an oil-based one — oil-based primers and paint have the most extended life on cabinets.
Some oil-based paints contain volatile organic compounds, which are outlawed in many states. You can use latex-oil combination paints if oil paints are banned in your state. Latex-oil primers dry quickly, so read the directions to account for the dry time. You don’t want brush strokes on your cabinets because the paint dries too fast.
If your cabinet is dark and you want to paint it a light color, consider tinting the primer to match the final color. Sales associates tint your primer in the store where you purchase the paint. Getting a thicker, less transparent primer is another option. A minimum of one coat of primer is necessary, but you may need to use multiple coats depending on your cabinet color.
3. Paint
After prepping and priming the cabinets, it’s time to paint them. For the best results, use quality paint. A gloss, satin or semi-gloss finish creates a resilient surface that’s simple to clean. You want thin paint because two coats are standard when painting cabinets.
It is best to use a brush to paint the trim of the cabinets and a mini-roller to paint the cabinets themselves. Gently swipe the brush in nooks and hard-to-reach places, and cover the rest of the cabinet in paint using the mini-roller. Ensure everything is dry before retouching it.
One of the best tips for painting cabinet doors is to paint the cabinets on standoffs, either purchased or ones you make. To make your own, drive two-inch screws into three-inch plywood. Wait for one side to dry completely before flipping it over and painting the next.
Lightly sand the cabinets in between the first and second coats. Sanding prevents the cabinets from being over-painted and forming bubbles. Sometimes, a thin third coat will increase the richness of lighter colors or semi-opaque paints.
While working on this project, keep the room well-ventilated. Turn on any fans, open windows and wear masks.
It will probably take a weekend to complete the painting project. You need to leave plenty of dry time — the primer must be dry before applying the paint. The paint will take a while to dry, so read the instructions and follow the recommended drying times.
4. Clean Up
Once everything has dried, it’s time to clean up. Properly dispose of the painting supplies, masking tape and rosin paper. Putting the hardware back on the cabinets, doors and drawers is simple as long as you labeled everything. Once the cabinets are back together, you can place your dishes and kitchen items inside.
Hire Rent Painters to Refresh Your Cabinets
Following these cabinet painting tips can help you do a good job. But the only way to have a professional job done is to hire professionals. Rent Painters services areas in Virginia, Washington, D.C. and Maryland. We pride ourselves on our fast, reliable and honest service. We offer a 100% satisfaction guarantee and transparent pricing.
There are many benefits of renting a painter and numerous reasons to hire a professional instead of doing it yourself. Professionals will save you time and money, produce better results and leave your schedule free so you can enjoy your weekend. Get a free quote online or contact us today. We are happy to answer your questions and look forward to working with you on your painting project.