An interior paint job is an important project for any homeowner. Fresh paint can improve your mood and your home’s value. But, you may not know where to begin. Professional painters always prepare rooms for painting, which may make you wonder if you need to prep for painting.
When you prep a room for painting, you’ll get a more professional-looking job, a smooth finish and less mess. Check out this guide to learn how to prep a room for painting and why you should.
Why You Want to Prep a Room for Painting
Prepping walls before painting provides many benefits, including the following:
- Proper paint curing: Over time, walls can accumulate dirt, holes and markings. These barriers prevent paint from sticking to the walls, which can lead to chips. Prepping the walls before painting ensures the paint has a smooth surface to stick to.
- Even color distribution: Primer is an essential part of prepping. The paint could look patchy in some areas or have different shades without primer.
- Increased durability: Paint that can stick to the walls properly will be harder to blemish, so the color will last longer.
- Smooth finish: Since painting prep sands out any rough areas, the finished product is smooth to look at and touch.
How to Prepare a Room for Painting
Learn how to prep a wall for painting by following these eight steps.
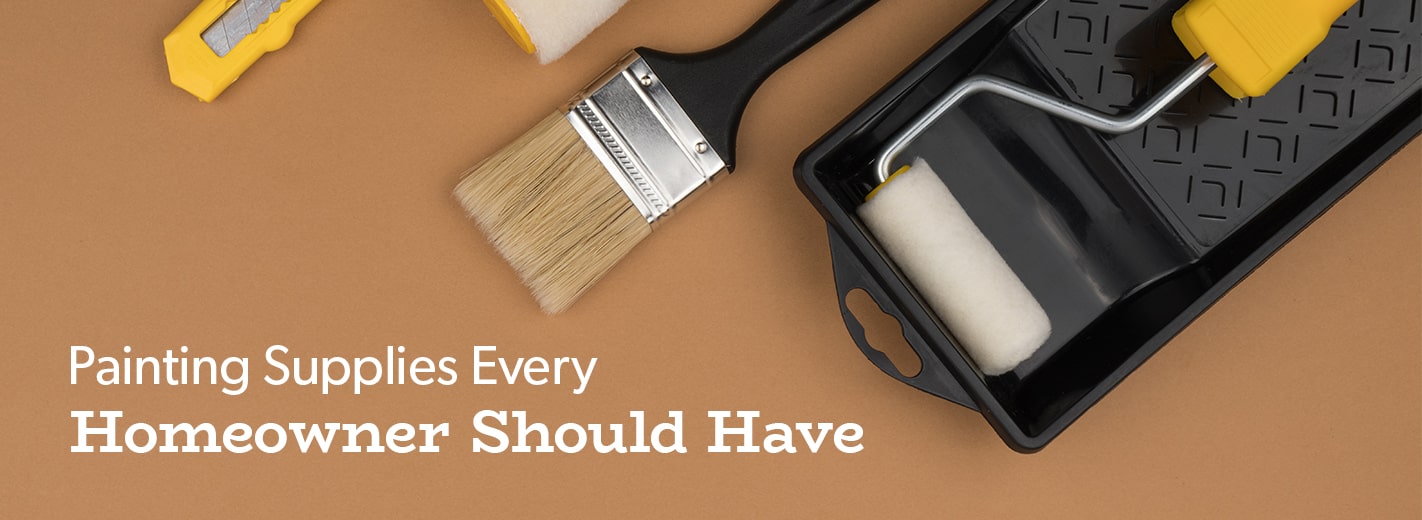
1. Gather Materials
The first step to prepping your walls is to gather the right tools and materials. These include:
- Paint
- Paint roller extension pole
- Paint roller
- Paint brushes
- Paint tray
- Drop cloths
- Sandpaper
- Painter’s tape
- Putty knife
- Putty
- Rags
- Caulk, if needed
2. Clear the Room for Painting
It’s best to have the room as empty as possible before you paint it to prevent paint from getting somewhere you don’t want it to. To clear the space, you should:
- Remove as much furniture from the room as possible.
- Push any remaining furniture to the center of the room and cover it with drop cloths.
- Remove pictures, wall art, towel bars, area rugs, curtain rods and hardware, curtains and blinds.
- Turn off the power to any outlets and fixtures.
- Remove light fixtures, ceiling fan blades, switch plates and outlet covers.
- If you are painting the doors, remove the knobs and locksets.
3. Set up a Workstation
Setting up a workstation helps you keep everything neat and organized. It keeps the painting mess contained in one area, so wet paint is less likely to get into other rooms.
To set up a workstation, you need to find an area in the room you’re painting or somewhere nearby to place a table to hold the painting supplies. Cover the table with a drop cloth if you don’t want paint on it, and set a step stool near the table. You will also want to put a trash can in the room so you can discard debris as needed.
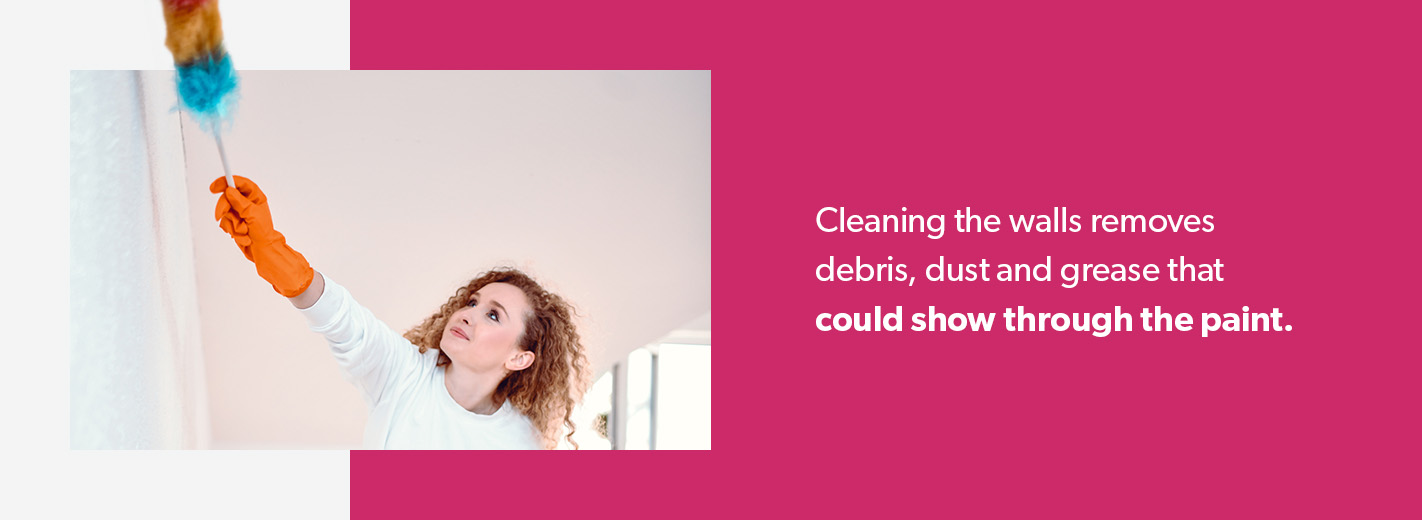
4. Clean the Walls
Cleaning the walls removes debris, dust and grease that could show through the paint. Here are the steps to cleaning your walls:
- Use a duster to remove dust and cobwebs. Start in the upper corners and bring the duster down.
- Dust along the baseboards with the duster or a cloth.
- Wipe away stains with warm water and liquid dishwashing soap.
- If there is any grease, use a degreaser and water mixture to remove it.
- Sweep or vacuum the dust off the floor.
5. Clean the Baseboards and Trim
After you clean the walls, you should clean the baseboards and trim. If you’re painting them, you’ll want to go a step further and remove old paint and make repairs. Here are the steps for cleaning and prepping the baseboards and trim:
- Inspect the trim. If you notice any areas with excessive damage, you may want to replace the boards.
- Remove the paint using a paint stripper. Make sure the old paint doesn’t contain lead. Homes painted before 1978 are more likely to have lead-based paint.
- You can sand the baseboards and trim if you can’t or don’t want to remove the paint.
- Wipe the trim and baseboards with warm, soapy water.
- Remove sanding dust from the floor.
- Use caulk to seal gaps between the molding and the wall or floor.
6. Prep the Walls
Start by looking for things that protrude from the walls, like glue or chipped paint. If you notice anything, use the putty knife to scrape it off so the wall is flat. Remove any wallpaper, as painting over it will not produce good results. Consider removing texture from your walls for better results.
Next, use putty to fill in holes and grooves. You may need to apply multiple layers of putty. Once the putty dries, sand the walls so they are even.
7. Tape the Walls
Taping the room before painting leads to cleaner edges and a more polished look. You want to tape:
- Trim areas at the floor and ceiling
- The frames around the windows and doors
- Electrical boxes
- Door handles
- Fixtures
- Switches
- Outlets
When you apply the tape, use a putty knife to press it down, creating a seal. This prevents the paint from getting under the tape.
8. Use Drop Cloths
You want to place drop cloths so they cover your floor. Make sure you have enough so you don’t have to move them as you paint. Moving the drop cloths risks transferring wet paint splatters to the floor or other nearby surfaces.
Opt for heavy-duty drop cloths that are plastic or plastic-lined. Plastic drop cloths don’t allow the paint to leak through onto the surface below. You may also want to tape them over windows and prevent paint splatters from paint rollers.
Hire Rent Painters to Prep and Paint Your Room
Hiring a professional painter to prep and paint your room saves you more than time and ensures you receive a smooth, professional finish. There are many reasons to hire a professional painter, including the following:
- Expert prepping: Professional painters have the skills and experience to prep an area for painting properly.
- Better results: While you can achieve a nice look when you do it yourself, the only way to achieve a professional finish is by having a professional painter do the work.
- No equipment expense: Rent Painters brings our own equipment — you only need to provide the paint.
- Quicker job: Professionals have a system that allows them to achieve faster results.
Rent Painters offers professional painting services in Maryland, Virginia and Washington, D.C. We provide excellent customer service, outstanding jobs and fair prices. Our painters will stay out of your way as much as possible and work quickly. Use our online calculator to receive a quote today and schedule your painting project.