Whether you are selling your home, remodeling a room or updating your living space’s ambiance, removing wallpaper allows you to create an entirely new aesthetic. Removing old wallpaper is a project that takes time and patience to complete. With a few tips and the proper preparation, you can welcome your new wallpaper or paint job as quickly as possible.
Before you begin planning your room’s new layout, you must set up your space for wallpaper removal. The process can be tedious for those without experience. Follow the steps below to ensure a smooth transition from decorated walls to a blank canvas ready for remodeling.
What to Do Before You Start
There are numerous benefits to removing your wallpaper to freshen up your living space. This task can take a few hours or even a couple of days, depending on the room size. However, you can look forward to enjoying the unique ambiance your stylish new wallpaper provides to your living space.
Before you start removing old wallpaper, you can take a few steps to ensure a smooth removal process.
You will need to gather the following tools:
- Safety goggles
- Painter’s tape
- Tarps and towels
- Metal putty knife
- Scoring tool
- Razor knife
- Vinegar and warm water
- Steamer
After you collect these essentials, carefully protect your outlets, furniture and floors. Ensuring your living spaces remain untouched during removal can grant you peace of mind and save you money on replacement costs.
To start preparing for wallpaper removal, take the following steps.
- Wall decor: You will need to take any photos, artwork, shelves and other mounted objects off the walls. Before replacing the material, you should have completely bare walls — except for the unwanted wallpaper.
- Furniture: Move small furniture such as end tables, chairs and ottomans out of the room. Cover large, heavy or otherwise hard-to-move pieces with tarps to avoid getting anything on the material.
- Objects on the floor: Any rugs or floor decor should be out of the space while you remove your wallpaper. Once the floor is bare, you can tape towels to the baseboards and cover the rest with plastic or cloth sheets.
- Power sources: Removing wallpaper can make your walls damp. Shut off electricity in your home before starting the removal process to avoid damaging the outlets in the room. You can place painter’s tape over the outlets for added protection.
After removing as many things as possible from the room, you can begin planning the necessary steps to take off your wallpaper. To do this, you need to determine your wall type.
Plaster walls are common in homes that are over 50 years old. Wood and plaster make up this type of wall to create a solid structure for rooms all over the house. Drywall is a newer wall type for homes less than 50 years old, and it consists of cardboard and a chalk-like substance over wood structures. Each material requires different wallpaper removal methods to protect its integrity.
Step 1 — Start Peeling at a Bottom Edge
Depending on the type of wallpaper you have, you may be able to start peeling from one of the bottom edges to gain traction for the rest of the removal process. Take a metal putty knife or scraper and find a corner to begin peeling. If you can remove the wallpaper easily, you most likely have strippable wallpaper.
Strippable wallpaper is easy to remove and has typically existed in newer homes or projects in the last 10 years. Hold the corner you pulled from the bottom and gently lift upward until the entire strip comes free from the wall.
You can repeat this step with each strip until your walls are bare. For more stubborn strips, you can use a razor knife to cut along a strip and start peeling upward using the newly cut corners.
Step 2 — Removing Wallpaper Border
If you start to peel from the bottom edge and the wallpaper is more challenging to lift from the wall, you most likely have a wallpaper that uses glue to hold the material to the walls. In this case, you can start by removing the wallpaper border first to gain some leverage for the rest of the top layer.
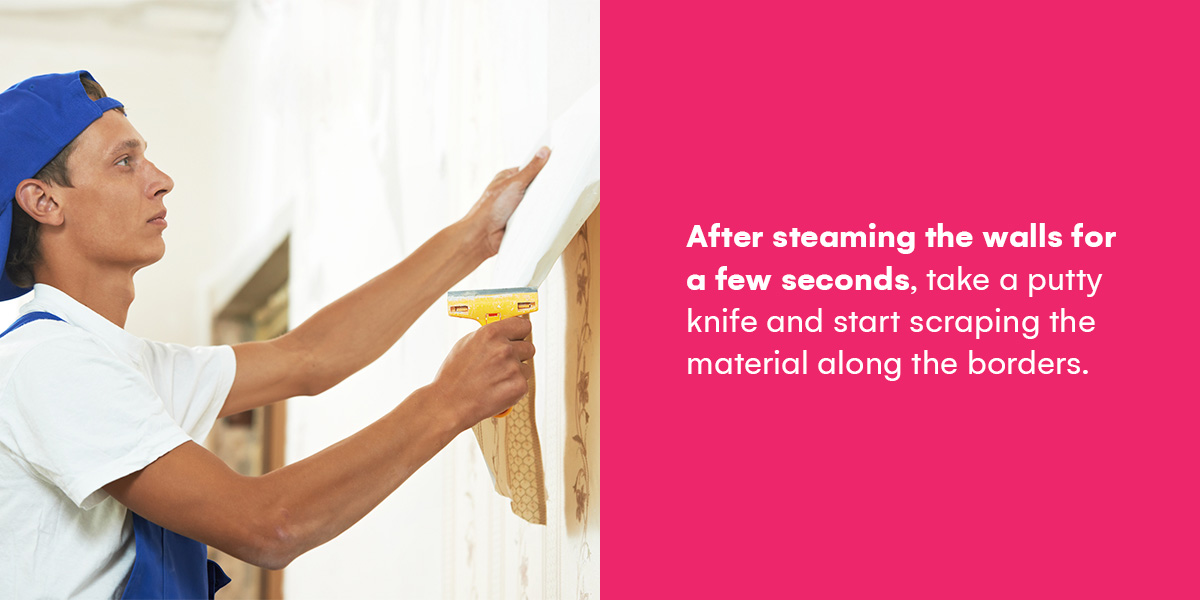
To remove wallpaper from plaster, starting with the borders, you can take a delicate approach to preserve these walls’ age and material. Use a steamer to loosen the glue between the wall and the wallpaper to gently ease the process along. After steaming the walls for a few seconds, take a putty knife and start scraping the material along the borders. You may even be able to remove all the wallpaper this way.
The best way to remove wallpaper borders on drywall is to apply warm water with a spray bottle or damp cloth to the edges near the ceiling, floor or windows. Moisture loosens the glue underneath the layers to make the removal process easier. If you can now peel the wallpaper away from the wall, you can continue to remove the rest this way with warm water and your putty knife.
For more stubborn pieces that do not budge with the warm water, you can try a solution to help loosen the material more. Combining equal parts warm water and vinegar, apply this solution to the borders with a sponge or cloth. Vinegar’s acidity helps break up adhesive to effectively remove wallpaper from drywall.
Step 3 — Tear Middle Sections
Now that you know how to remove wallpaper borders, you might find peeling the rest of the wallpaper in the middle of the walls easier. If they still cling tightly to the material, you can use a scoring tool to tear away some of the paper and loosen the backing.
Scoring tools are circular and have sharp edges to rip the paper. You can run this tool over the top of your wallpaper to snag an edge of the material so you can easily grip and lift it away from the wall. Make sure to go over the wallpaper gently to avoid puncturing the wall or creating scratches.
Any leverage you can gain from these small snags can help you start the removal process. This method can take significantly longer than stripping. However, you can keep applying the water-vinegar solution to the middle sections so the material loosens from the walls.
For plaster walls, continue using the steamer to loosen the material over the entire space. Avoid using damp cloths or sponges like you would with drywall, so the wood and plaster do not soak in too much moisture.
Step 4 — Wash the Walls
Whichever method you need for your wallpaper, patience and determination are crucial to finishing your project. After successfully removing the wallpaper in the room, the final step is to wash the walls.
For drywall, you can use the water-vinegar solution to wipe down the walls and remove the remaining adhesive. Let it soak for about 10 minutes before drying off with a towel. If you have plaster walls, use a soft cloth to wipe away any glue still sticking to the wall.
After this final step, you can enjoy looking forward to installing your new wallpaper or painting the room to fit your visual aesthetic.
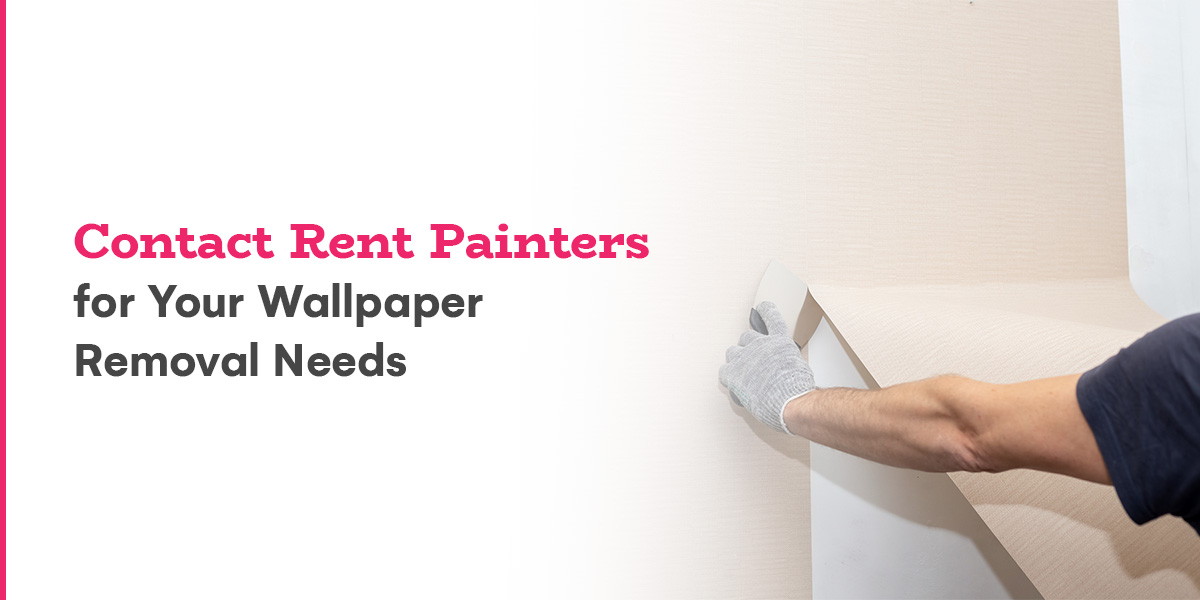
Contact Rent Painters for Your Wallpaper Removal Needs
Do you need help removing wallpaper in your home? Rent Painters can lend a hand! With over a decade of offering quality services in the Virginia and Maryland areas, we pride ourselves on leaving every client satisfied with the final product.
You can save on wallpaper removal costs through our services, as we provide the tools to tackle any wallpaper. We guarantee total transparency with project costs and estimated timelines, so you can focus on redesigning your living space with new wallpaper or paint.
Contact us today with any questions.